Sparrior – How it Works
Learn how to use your new Sparrior Shadowboxing Trainer!
Need more support? Email us
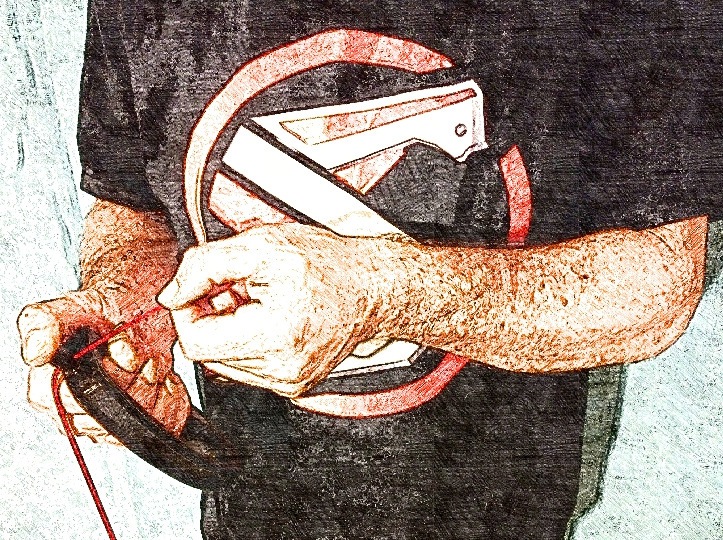
Step 1: Once you have removed all of the parts from the box, hold one handle so that the cable adjuster is next to your thumb.

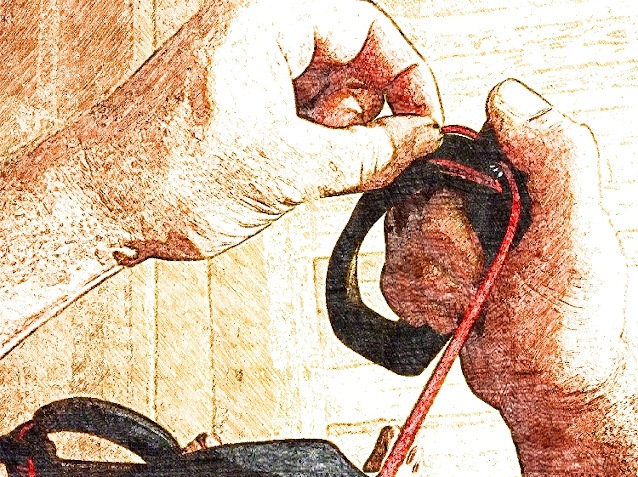
Step 2: Depress cable adjuster firmly, and insert one end of the cable into the hole on the side of the cable adjuster.

Step 3: Release pressure with your thumb to hold the cable in place. Repeat process for the second handle.

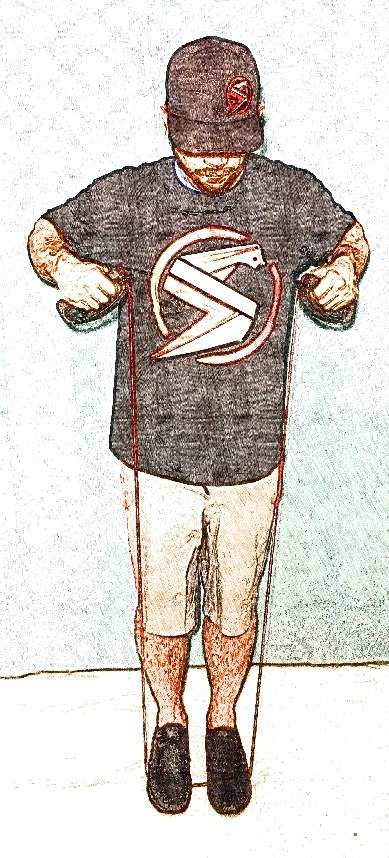
Step 4: Customizing your jump rope (If you do not have access to wire cutters, skip this step for now) – First, place both of your feet on the midpoint of the rope, leaving a gap of 1-2 inches between your feet. Each end of the rope should be an equal length from the midpoint in order to give you an accurate length of the rope.

For jump rope beginners, the top of the handles should reach the armpit or below, and if you’re a pro then your jump rope handles should reach your nipple line. We recommend that your rope handles should be approximately 6 inches down from your collarbone.

Next, adjust the length of your rope by depressing the cable adjuster, and pulling the rope through one of the handles. You may need to repeat this step a couple of times until you’re happy with the jump rope length.

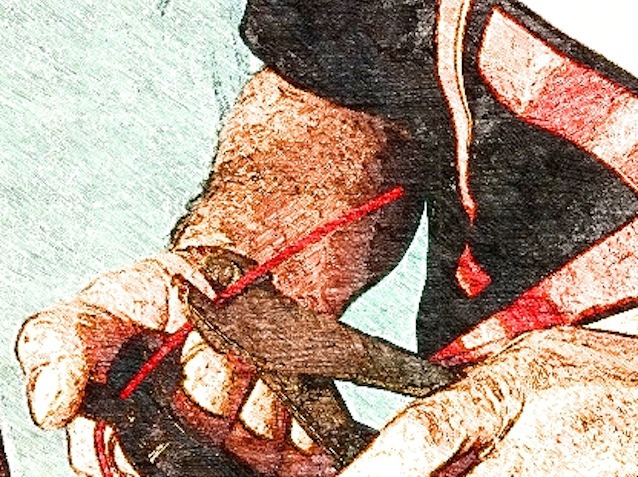
Once you are happy with the new length of the rope, clip off the excess wire with wire cutters. Leave approximately 2 inches of extra cable at both ends of the cable for small adjustments.

Step 5: Depress cable adjuster firmly, and pull one full arm’s length of cable through the cable adjuster. Repeat process for the second handle.

Step 6: Attach cable guide ball to cable between the handles, and hold the ball under your chin.

Step 7: With cable guide ball under your chin, hold one handle against your lower jaw, and extend the opposite arm in a punching motion, depress cable adjuster and allow your arm to extend fully, at full extension the cable should be taut.

Step 8: Holding one of the handles in your right hand, wrap excess cable around the handle going away from your body, starting in the wide channel on the outside of the handle.

Step 9: Continue wrapping cable around and through the open channel on the inside of the handle.

Step 10: When you reach the end of the cable, seat the cable in the narrow channel on the outside of the handle.

Step 11: If the cable ends beyond the narrow channel, use the cable cleat at the bottom end of the handle to change the direction of the cable, and seat it into the narrow channel going back towards the cable adjuster. Repeat process for the second handle.

Step 12: Use the ridges on the arched side of handles to firmly seat the cable into the small channel on both handles.

Step 13: Fine tuning the ShadowBoxing Trainer – For optimal performance, the handles should hang parallel to each other, with the arched side facing away from your body.

To make adjustments, depress cable adjuster, and twist cable until desired orientation is reached.

Step 14: Returning ShadowBoxing Trainer back to a jump rope – First detach cable guide from cable, use the point at the end of the cable guide to pick the cables out of the seating channels. Then depress cable adjuster and pull cable back through both handles to desired jump rope length.


